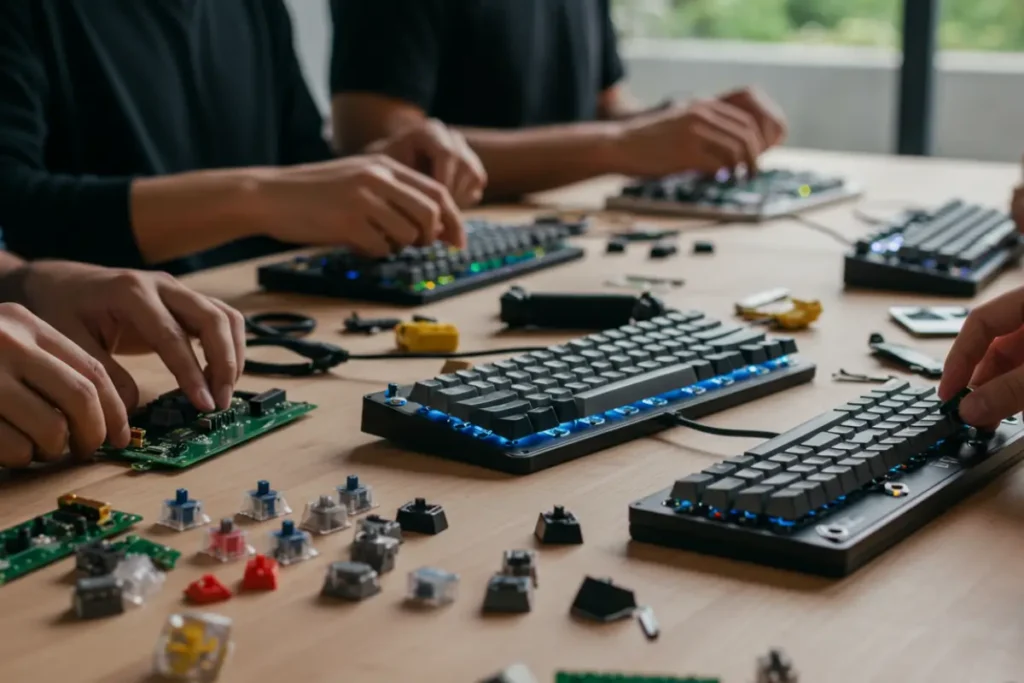
Starting off, let me tell you, the DIY keyboard community is not just a bunch of nerds tinkering away in their basements — it’s a full-on movement.
People are diving headfirst into the world of custom keyboards, and let me tell you, there’s a good reason for that. Or actually, a ton of good reasons. 🚀
What is the DIY Keyboard Community All About?
If you’re wondering what the DIY keyboard community is, think of it as a space where people are not just content with what’s on the shelf. They want something more — something that feels like it was made just for them. And the only way to get that is by making it themselves.
This community is filled with keyboard enthusiasts who obsess over switches, keycaps, cases, and layouts to create the perfect typing experience. And it’s not just about the final product — it’s about the entire process of building, testing, and perfecting.
You know, it’s kind of like cooking. Sure, you could just order takeout, but there’s something special about making a meal from scratch and tasting that first bite. The same goes for keyboards.
Building one from scratch gives you that satisfying click every time you press a key — a sound and feel that you designed yourself. And yeah, that’s pretty cool.
Why Do People Build Their Own Keyboards?
So, why go through all that effort when you could just buy a keyboard off the shelf? Well, there are several reasons:
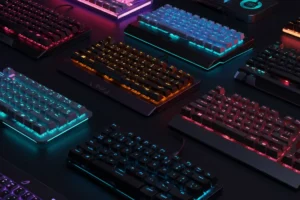
- Customization: With a DIY keyboard, you get to choose every single component. Switches, keycaps, cases — it’s all up to you. Want a board that sounds like thunder or one that’s whisper-quiet? You can make it happen.
- Typing Experience: Different switches have different feels. Some are clicky, some are smooth, some are tactile. By building your own keyboard, you can create a typing experience that’s absolutely perfect for you.
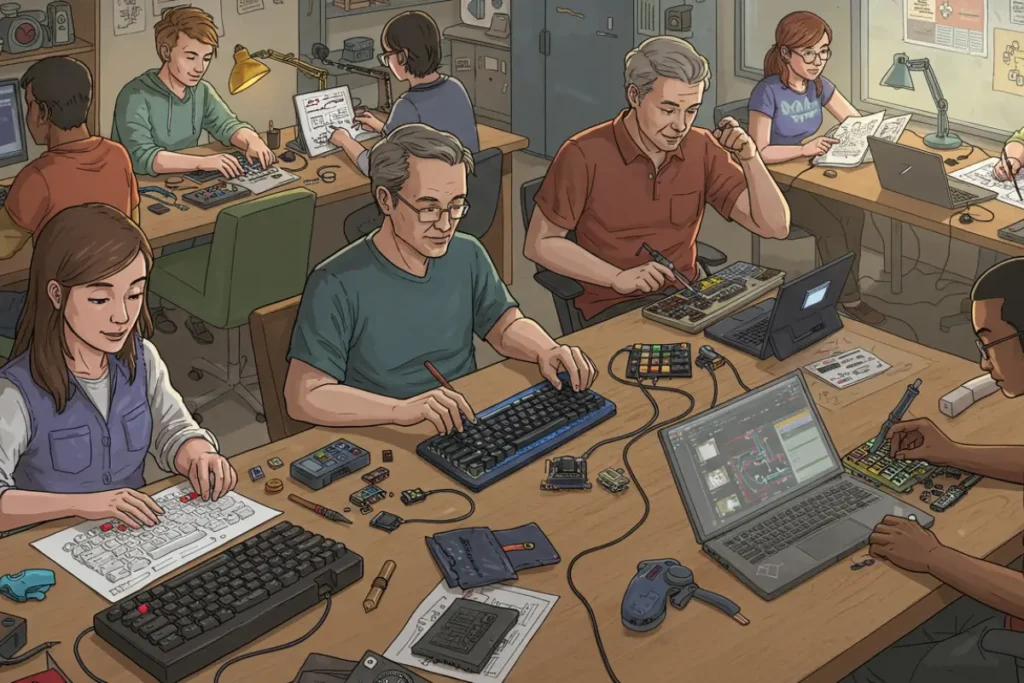
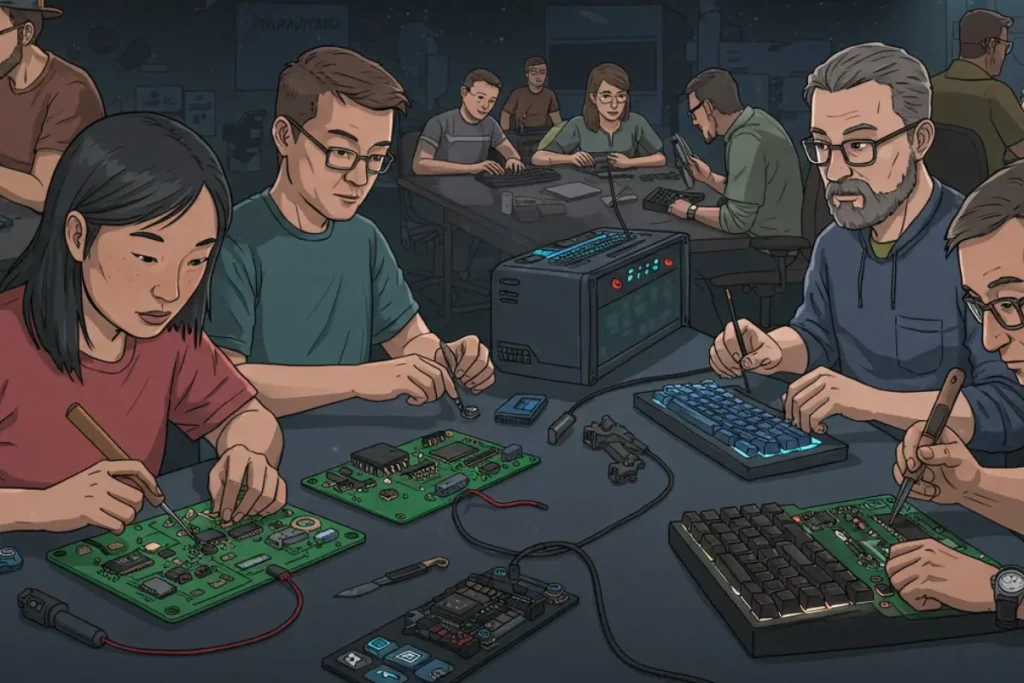
- Community and Connection: The DIY keyboard community is massive and incredibly welcoming. There are forums, subreddits, and Discord servers where people share their builds, offer advice, and just geek out over new parts and designs.
- Sense of Accomplishment: Let’s be honest — there’s something really rewarding about creating something from scratch. When you finish your build and hear that first satisfying ‘clack,’ you know you made that happen.
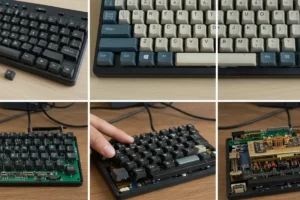
The Components of a Custom Keyboard
Building a custom keyboard is like assembling a LEGO set — but way more intense. Here’s what you need to know:
- Switches: These are the heart and soul of the keyboard. Clicky, linear, or tactile — each type offers a unique feel and sound.
- Keycaps: These come in every style, color, and material imaginable. Want a set that looks like it came straight out of an ’80s arcade? You can find it.
- PCB (Printed Circuit Board): This is what makes the whole thing work. It’s where all the switches are mounted and connected.
- Case: This is what holds everything together. Aluminum, acrylic, or plastic — each material affects the sound and weight of the board.
- Stabilizers: These keep the larger keys (like the spacebar and Enter key) from wobbling.
Popular DIY Keyboard Builds
If you’re new to the world of DIY keyboards, you might be overwhelmed by all the options. Here are some popular builds that people love:
- 60% Keyboards: Compact, portable, and perfect for those who want to focus on the essentials.
- 65% Keyboards: Similar to 60%, but with arrow keys. Great for those who need a bit more functionality.
- TKL (Tenkeyless): Drops the number pad but keeps everything else.
- Full-Size: The classic — every key you could possibly need.
Getting Started with Your First Build
Feeling inspired? Here are some steps to get you started:
- Research: Start by checking out some popular builds. Websites like Keyboard University and Mechanical Keyboards are great resources.
- Pick Your Components: Choose your switches, keycaps, case, and PCB. Make sure they’re all compatible.
- Soldering: Yep, you’ll probably need to learn how to solder. But don’t worry, there are tons of beginner-friendly tutorials out there.
- Assemble Your Board: Take your time and follow every step. Building a keyboard isn’t a race — it’s a marathon.
- Test and Adjust: Once it’s all put together, plug it in and start typing. Adjust any keys that feel off or need tweaking.
The Community Aspect: Why It’s More Than Just Keyboards
The DIY keyboard community is more than just a bunch of people building stuff. It’s a network of creators who share ideas, troubleshoot problems, and celebrate each other’s work.
And yeah, they’re a little obsessed with keyboards, but in the best possible way.
If you’re interested in diving into the community, check out the r/MechanicalKeyboards subreddit or join a Discord server dedicated to custom builds. You’ll learn a ton and maybe even make a few friends along the way.
See More
- How to Set Up a Keyboard for Dual Monitor Productivity
- How to Make Your Keyboard Feel Like a Typewriter
- The Most Colorful and Aesthetic Keyboards of 2025
Want More Keyboard Content?
If you’re as hooked as I am on all things keyboards, you’ll definitely want to check out some of the articles on Keyboards Technology, like How to Build a Custom Mechanical Keyboard for Under $100 or Why Keyboard Enthusiasts Love Artisan Keycaps.
And hey, if you liked this article, don’t forget to share it with your fellow keyboard fanatics. After all, the more the merrier, right? 🚀
